Authoring a Dev Container Feature
01 Nov 2022 - @joshspicer
Development container “Features” are self-contained, shareable units of installation code and development container configuration. We define a pattern for authoring and self-publishing Features.
In this document, we’ll outline a “quickstart” to help you get up-and-running with creating and sharing your first Feature. You may review an example along with guidance in our devcontainers/feature-starter repo as well.
Note: While this walkthrough will illustrate the use of GitHub and the GitHub Container Registry, you can use your own source control system and publish to any OCI Artifact supporting container registry instead.
Create a repo
Start off by creating a repository to host your Feature. In this guide, we’ll use a public GitHub repository.
For the simplest getting started experience, you may use our example feature-starter repo. You may select the green Use this template button on the repo’s page.
You may also create your own repo on GitHub if you’d prefer.
Create a folder
Once you’ve forked the feature-starter repo (or created your own), you’ll want to create a folder for your Feature. You may create one within the src folder.
If you’d like to create multiple Features, you may add multiple folders within src.
Add files
At a minimum, a Feature will include a devcontainer-feature.json and an install.sh entrypoint script.
There are many possible properties for devcontainer-feature.json, which you may review in the Features spec.
Below is a hello world example devcontainer-feature.json and install.sh. You may review the devcontainers/features repo for more examples.
{
    "name": "Hello, World!",
    "id": "hello",
    "version": "1.0.2",
    "description": "A hello world feature",
    "options": {
        "greeting": {
            "type": "string",
            "proposals": [
                "hey",
                "hello",
                "hi",
                "howdy"
            ],
            "default": "hey",
            "description": "Select a pre-made greeting, or enter your own"
        }
    }
}
#!/bin/sh
set -e

echo "Activating feature 'hello'"

GREETING=${GREETING:-undefined}
echo "The provided greeting is: $GREETING"

cat > /usr/local/bin/hello \
<< EOF
#!/bin/sh
RED='\033[0;91m'
NC='\033[0m' # No Color
echo "\${RED}${GREETING}, \$(whoami)!\${NC}"
EOF

chmod +x /usr/local/bin/hello
Publishing
The feature-starter repo contains a GitHub Action workflow that will publish each feature to GHCR. By default, each feature will be prefixed with the <owner/<repo> namespace. Using the hello world example from above, it can be referenced in a devcontainer.json with: ghcr.io/devcontainers/feature-starter/color:1.
Note: You can use the
devcontainer features publishcommand from the Dev Container CLI if you are not using GitHub Actions.
The provided GitHub Action will also publish a third “metadata” package with just the namespace, eg: `ghcr.io/devcontainers/feature-starter. This is useful for supporting tools to crawl metadata about available Features in the collection without downloading all the Features individually.
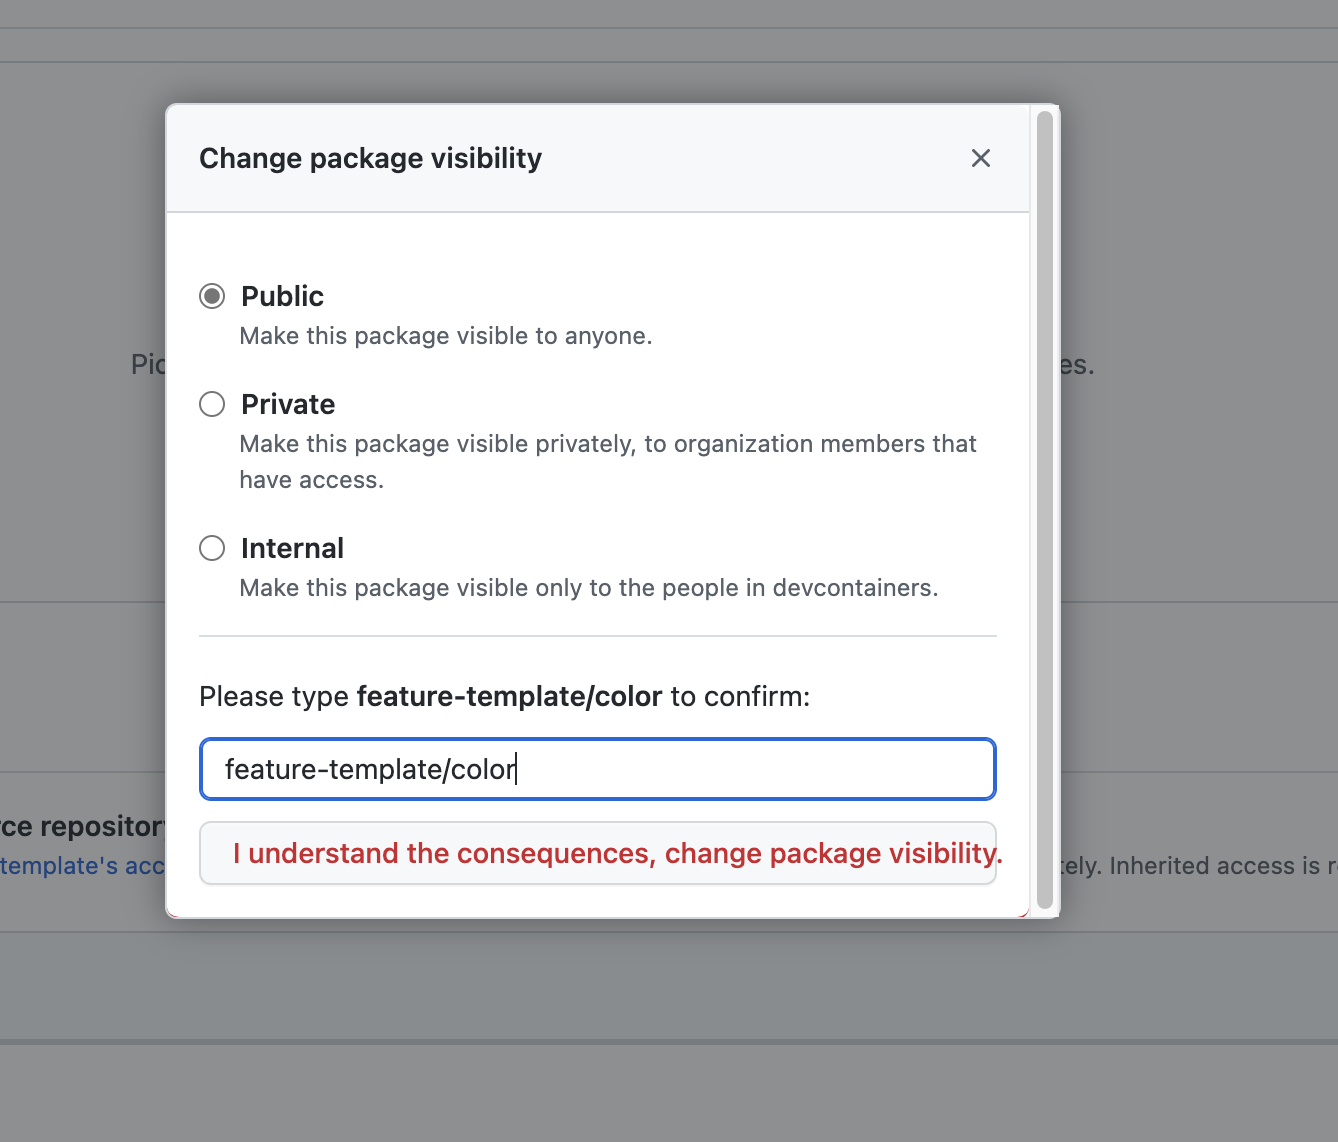
By default, GHCR packages are marked as private. To stay within the free tier, Features need to be marked as public.
This can be done by navigating to the Feature’s “package settings” page in GHCR, and setting the visibility to public. The URL may look something like:
https://github.com/users/<owner>/packages/container/<repo>%2F<featureName>/settings
Adding Features to the Index
If you’d like your Features to appear in our public index so that other community members can find them, you can do the following:
- Go to github.com/devcontainers/devcontainers.github.io, which is the GitHub repo backing containers.dev
- Open a PR to modify the collection-index.yml file
- Features housed in other OCI Artifact container registries can be included as long as they can be downloaded without a login.
Note: Add a single entry per repository, regardless of how many Features it contains. The
ociReferenceshould be the collection namespace root — e.g.,ghcr.io/<owner>/<repo>— not a path to an individual Feature (e.g., avoidghcr.io/<owner>/<repo>/<featureName>). The site will automatically discover all Features in the collection from that one entry. TheociReferencevalue must not include a URL scheme such ashttp://orhttps://.
Feature collections are scanned to populate a Feature index on the containers.dev site and allow them to appear in Dev Container creation UX in supporting tools like VS Code Dev Containers and GitHub Codespaces.